Here is a question worth answering honestly. When did you last actually look at your camera strap? Not glance at it while putting the camera on. Look at it, with the camera off, turning the webbing over in your fingers and checking the parts that are holding several pounds of glass over a stone floor.
For most people the answer is never. You threaded it once, years ago, and it has worked every day since, which is exactly the reason it stopped being something you see. Straps do not fail dramatically. They fail in the one place you stopped looking, after a long run of days where nothing happened.
This is the two-minute version. Five things, in an order that goes from the most likely to the least, done standing at the door with the camera in one hand.
Why a strap that looks fine can be getting weaker
The uncomfortable part first, because it changes how you read the rest of the list.
Webbing loses strength outdoors whether or not it looks any different. A 2017 Brigham Young University study titled Long-Duration Environmental and Blood Effects on Webbing Strength Degradation left nylon webbing at seven outdoor sites across North America and tested it after a year. The average strength loss was 27.7 percent in twelve months. Roughly 41 percent of that was attributable to ultraviolet light, with wind, temperature swings and rain accounting for most of the rest.
Two honest caveats. That study tested nylon, and polyester — which is what better camera straps use — generally holds up to sunlight better. And a camera strap is a far lighter job than a rigging sling, so a strap carrying a third of what it could carry has room to lose some strength and still be nowhere near the edge.
The useful takeaway is not a number, it is a habit. A strap that spends its life in daylight is slowly changing and will not announce it. That is an argument for a quick look every so often, not an argument for panic.
Check 1: the tail through the adjuster
Start where the webbing passes through the slider, because this is the one that moves on its own.
Find the loose end past the buckle and see how much of it is left. If you remember a good handspan of spare webbing and there is now an inch, the strap has been creeping through the slider a fraction at a time and you have been lengthening it without deciding to. Everyone notices this eventually, usually as a vague sense that the camera hangs lower than it used to.
Canon's own strap-attachment instructions finish on this exact point: after threading, pull the strap to take up any slack and make sure it will not loosen from the buckle. Hold the camera's weight on the strap and pull hard against the slider with your other hand. It should not give at all. If it slips under a firm pull it will slip under a day of walking, and the fix is re-threading rather than tightening — we went through the threading order in how to attach a camera strap.
While you are there, run the free end back through the keeper loop if it has worked its way out. A loose tail is not a safety problem. It is the thing that catches on a door handle at the worst moment.
Check 2: the stitching where the webbing turns back
Every strap has a few short runs of stitching that carry the whole load — at the lug ends, at the pad, wherever the webbing folds back on itself and is sewn down. Those bar tacks are the strap.
OSHA's guidance for synthetic web slings is written for lifting gear, but its removal list is the clearest plain-English description of what a tired piece of webbing looks like, and it transfers directly. Take a sling out of service, it says, for holes, tears, cuts or snags; for broken or worn stitching in load bearing splices; for excessive abrasive wear; for knots in any part of the sling; and for discoloration and brittle or stiff areas.
Read that list with your strap in your hands. You are looking for a single broken thread in a block of stitching, a patch where the weave has gone fuzzy and raised rather than flat and tight, a stiff shiny band where something has rubbed the same spot for years. One pulled thread is not an emergency. A bar tack with several threads gone is a strap that has started failing and is doing it quietly.
Check 3: the screw, seated flat
If your strap hangs from the threaded socket in the base of the camera rather than from the top lugs, this is your most important thirty seconds.
Put a fingernail where the mount meets the camera body and feel whether it sits flush all the way round. A fastener that has backed off a turn sits very slightly proud, and the whole plate will rock a little if you try to twist it. Nip it up finger tight. It does not want to be gorilla tight — the socket is a 1/4-20 thread cut into the camera, and that is not a thread to fight with.
If there is a rubber or nylon washer under the head, check it is still there and still soft. That washer is doing two jobs: keeping the metal off your camera's base plate, and providing the friction that stops the whole thing unwinding as the camera swings. Worn flat, it has stopped doing the second one.
One thing worth knowing if you have been swapping between a strap screw and a tripod plate: repeatedly running a steel screw into a soft aluminium plate wears the plate's threads, not the screw's. If a mount that used to tighten crisply now keeps turning without ever feeling solid, the plate is the part to replace. We laid out the whole socket-versus-lugs trade in tripod socket or strap lugs.
Check 4: the tether, and whether it is attached to anything useful
If your strap came with a safety tether, two things to confirm, both quick.
First, that it is closed. Push the gate of the small carabiner or clip and let it snap back. A gate that has gone gritty, or that stops a hair short of shut, is a gate that can walk open against a jacket over an afternoon.
Second, and this is the one people get wrong: confirm it is holding a different point on the camera from the main fixing. A tether clipped onto the same ring as the connector protects you from nothing, because the thing it is backed up against is the thing it is hanging from. On a base-mounted strap the tether belongs on a top lug. We went into what a tether can and cannot save in the piece on safety tethers.
If you shoot on the lugs with split rings, look at those rings in decent light. The failure is the ring slowly unwinding under load until the end works clear of the lug, and owners who have had it happen describe exactly that, with no warning first. A ring you can open with a thumbnail is a ring to replace.
Check 5: the pad, where it ends up
Last, and the least dangerous, but it is the one that decides whether you keep the camera out.
Hang the camera the way you actually carry it and see where the padded section sits. It should be on the flat of your shoulder with the camera at your hip. If the pad has migrated along the webbing toward the camera, or has slid up onto your neck, the strap is loaded wrong and all the weight is landing on an inch of collarbone.
Weight is why this matters more than it sounds. Nikon's published specifications put the Z6III body at about 26.8 ounces with battery and card, and the NIKKOR Z 24-120mm f/4 S at 22.2 ounces. That ordinary one-body, one-zoom combination is a shade over 3 pounds, and 3 pounds on a narrow strip of neck for six hours is how a camera ends up left in the bag.
What the strap we make is doing about this

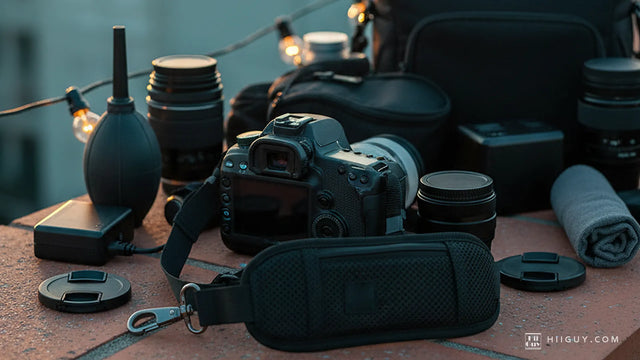
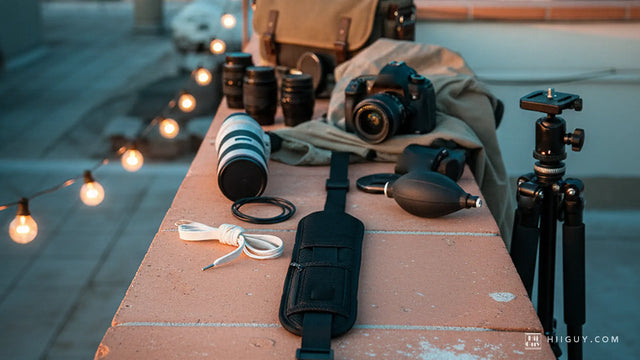
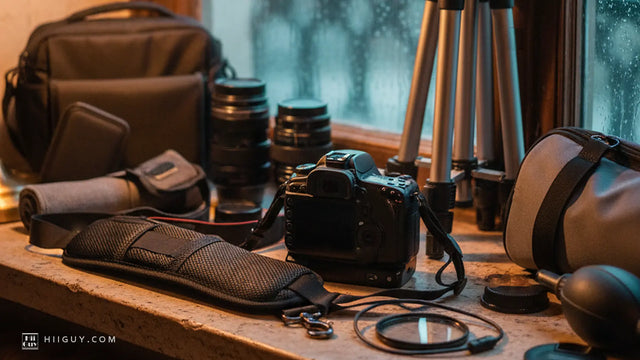
We took that photograph ourselves, and it is close to what checks three and five look like in practice: the camera in the hand, the eye on the connector, the pad sitting where it should. Run the list above over our own strap and here is what each check is meeting. Check one and check two land on heavy-duty polyester webbing, chosen partly for the sunlight reason above. Check three meets a stainless steel quick release and rustproof metal fittings, stainless at the connector because the part with a moving gate is the part that least wants rust in it. Check four finds a safety tether that is in the box rather than sold separately. Check five lands on a wide padded shoulder pad.
Sizing is the only place the two variations differ. Regular adjusts up to 32 in on the body; XXL adjusts up to 44 in; webbing, pad, quick release and tether are identical in both. The straps have been made in Los Angeles since 2016, and the three full years of warranty behind the HiiGuy strap are the other half of an inspection habit — knowing what to do on the day a check turns something up. See it on Amazon.
The whole thing, in the order to do it
Pull against the slider and make sure it does not give. Run your fingers over every block of stitching and look for a broken thread or a fuzzy patch. Feel whether the base mount is seated flush and nip it finger tight. Snap the tether gate shut and confirm it is on a different point from the main fixing. Hang the camera and see where the pad lands.
Two minutes, and most of the time you will find nothing, which is the correct result. If you are weighing up a replacement rather than checking what you have, four things to check on any camera strap before you buy covers what a listing photograph will and will not tell you.
Do it on the first of the month, or the night before anything that matters. The whole point of a check this short is that there is no good reason to skip it.