You turned Auto ISO on because someone told you it was the setting that fixes low light, and they were right as far as it went. The photographs got brighter. What nobody mentioned is that the screen you turned it on from has two more lines underneath it, and the second one is the line that decides whether the picture is sharp.
Auto ISO settings are three decisions wearing the costume of one switch: how high the camera may push the sensor, how slow it is allowed to let the shutter go before it does, and when you take the whole arrangement back off it. Almost everybody sets the first one, ignores the second, and never thinks about the third. The second one is why you have a folder of indoor photographs that are slightly soft at a perfectly sensible ISO 800.
What the Auto ISO settings screen is actually asking you
Open the sub-menu on any modern body and you get some version of the same three questions, under names that vary by brand.
| The question | Nikon calls it | Canon calls it | What happens if you leave it alone |
|---|---|---|---|
| How high may the ISO go? | Maximum sensitivity | Auto range, maximum | The camera will use the top of its range, which on a current body is a number you would never choose by hand |
| How slow may the shutter go first? | Minimum shutter speed | Min. shutter spd. | The camera picks for you from the focal length, and knows nothing about what your subject is doing |
| When does none of this apply? | Mode dependent | Mode dependent | You get surprised on a tripod |
Those are not equally important. The first one changes how grainy a photograph is. The second one changes whether there is a photograph.
Minimum shutter speed is the setting almost nobody sets
Here is the mechanism, because it is worth understanding once rather than memorizing a recommendation. In aperture priority, the camera meters the scene and reaches for a shutter speed. If the light is good it lands somewhere fast and the ISO stays at base. As the light drops, the shutter speed falls, and it keeps falling until it hits the floor you set. Only then does the camera start raising ISO.
Nikon's D850 manual states it precisely: in exposure modes P and A, sensitivity will only be adjusted if underexposure would result at the shutter speed selected for minimum shutter speed, and the options run from 1/4000 to 30 seconds, or Auto. In modes S and M, the same manual says ISO sensitivity is adjusted for optimal exposure at the shutter speed selected by the user, which is the sentence people miss. In shutter priority you already set the speed, so the minimum shutter speed line does nothing at all.
So the floor is a promise you extract from the camera: get the exposure any way you like, but do not go slower than this. Leave it at a default that was chosen for a lens rather than a subject and the camera will happily hand you 1/25 of a second of a child who is moving.
What the Auto option does, and where it stops being clever
Both brands offer to work it out themselves, and the logic is the same one you were taught as the reciprocal rule.
Nikon's D850 manual says that if Auto is selected, the camera will choose the minimum shutter speed based on the focal length of the lens, choosing fast speeds when photographing fast-moving subjects reduces blur. It adds a caveat worth knowing if you use old glass: Auto functions only with CPU lenses, and if a non-CPU lens is used without lens data, minimum shutter speed is fixed at 1/30 second. Canon is more explicit about the arithmetic. The EOS R5 manual says that when Auto (Standard) is set, the minimum shutter speed will be the reciprocal of the lens focal length, and that a single step from Slower to Faster is equivalent to a single stop of the shutter speed.
That is a genuinely good default, and it has one blind spot: focal length only describes your hands. It is a rule about camera shake. It has no opinion about the subject. At 35mm on a full frame body the reciprocal rule gives you roughly 1/30, which is fine for a bookshelf and useless for a toddler crossing a kitchen. The camera cannot tell those apart, so the number has to come from you.
The floor we set, by what is in front of the camera
Nikon's own tips article on Auto ISO gives two anchors and they are honest ones: if you do not mind handholding the camera to 1/60 second, set that as the minimum, and if you want to minimize the possibility of camera shake, set 1/250 instead. Everything below is where we start from after that, and it is our preference rather than a specification, so treat it as a first setting to test and not a law.
| What you are photographing | Minimum shutter speed | Why that number |
|---|---|---|
| Landscape, buildings, still life, handheld | 1/125 | Nothing in the frame is moving, so the only enemy is your own pulse |
| An adult standing still, a portrait, a posed group | 1/250 | People sway more than they believe, and a head turn is faster than a landscape |
| Walking people, street, a market, a party | 1/250 | Feet and hands move faster than faces; this is the speed that keeps them from smearing |
| Children indoors, dogs, anything with a tail | 1/500 | The most commonly blurred subject in the world, and the reason this article exists |
| Sport, birds in flight, a lens over 300mm | 1/1000 and up | Subject speed and focal length are both against you at once |
| A tripod, a long exposure, moving water on purpose | Auto ISO off | The whole point is a slow shutter, so a floor is fighting you |
If your camera offers the Slower and Faster fine-tuning on the Auto setting rather than a hard number, and many do, the same idea applies in steps. On the Canon scale one step is one stop, so Auto set one step toward Faster is the reciprocal rule doubled, which is roughly the difference between the first row of that table and the fourth.
Maximum sensitivity: choose it from your own files, not from a review
The top number is the one people agonize over and it matters less than they think, because a grainy sharp photograph is a photograph and a clean blurry one is not.
The range on offer is wide. Canon's EOS R5 manual says you can set the automatic ISO speed range for ISO Auto within ISO 100 to 51200, with the minimum settable within ISO 100 to 25600 and the maximum within ISO 200 to 51200, in one stop increments. Nobody needs the top of that in a living room.
The way to pick your own ceiling takes fifteen minutes and beats any opinion you will read. Photograph the same dim corner of your house at every stop from ISO 1600 upward, look at the files at full size on a real screen, and find the point where you start to mind. Set your maximum one stop above that, because the frame you actually want will always arrive in worse light than the test. If you mostly post to a phone screen, your ceiling is higher than you expect. If you print at 16 by 20 inches, it is lower.
One detail that catches people out with flash: Nikon's menu carries a separate maximum for flash photography, sitting directly under the main one. Set one and not the other and your flash frames will behave differently from everything else on the card.
Three times to take it off
Auto ISO is a default, not a religion. Turn it off on a tripod, where a slow shutter is the objective and an automatic sensitivity is just noise added to a frame that did not need any. Turn it off in studio or constant light, where nothing changes between frames and there is nothing to react to. And turn it off when you are deliberately panning with a moving subject at 1/30, which is a technique the minimum shutter speed setting exists to prevent.
Everywhere else, leave it on with a floor that matches what you are photographing, and change the floor rather than the ISO when you move from a landscape to your kids. It is one button on most bodies and it is a faster decision than anything else in the menu. If the rest of the exposure triangle is still settling, our settings by scenario chart gives you the starting numbers in one place, and our guide to the mode dial covers which letter to be on while you do this, because Auto ISO behaves differently in P and A than it does in S and M.
None of it fires if the camera is in a bag

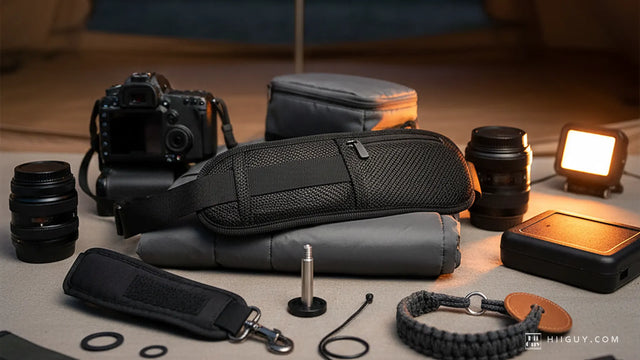
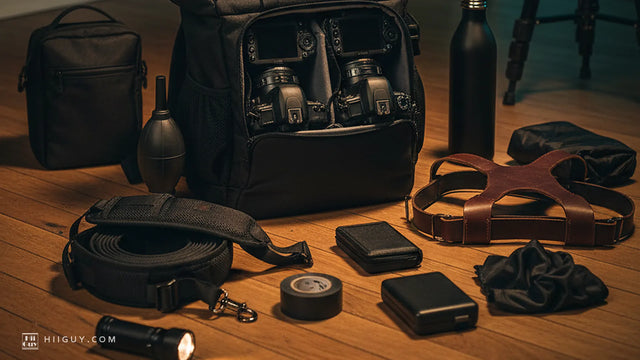
The reason a minimum shutter speed is worth setting at all is that it removes a decision from the moment something happens in front of you. The other thing that removes a decision is having the camera already in your hands, in the position in that photograph, instead of zipped away while you decide whether this is worth getting it out for. That frame is one of ours, taken on an ordinary afternoon rather than in a studio.
The HiiGuy camera strap carries the body at your hip on heavy-duty polyester webbing with a wide padded shoulder pad, so it is out of the way between frames and up at your eye in one movement. It comes in two variations and length is the only difference between them: the Regular adjusts up to 32 in on the body and the XXL adjusts up to 44 in, which is the one to start with if you are tall, broad, or wearing a coat over everything. There is a stainless steel quick release for the days you are working on a tripod with Auto ISO switched off, and a safety tether sitting behind it. HiiGuy has made this strap since 2016 and backs it for three full years.
The short version
Open the Auto ISO sub-menu tonight. Set the maximum sensitivity to the number your own eyes accept, not the number a review gave you. Then set the minimum shutter speed by what you photograph most: 1/250 if that is people, 1/500 if it is children or dogs, 1/125 if it is landscapes and buildings. Leave the camera in aperture priority, and switch the whole thing off when you put it on a tripod. That is one evening in a menu, and it will do more for your hit rate than the next lens.