Most camera settings charts on the internet were drawn for a camera you probably do not own. They list one ISO number per scene, as if you will stand in a park and dial in ISO 200 by hand. Cameras sold today mostly do not work that way, and a chart that ignores it sends beginners in the wrong direction.
This one is built to be saved and actually used. Every number below comes from a manufacturer's own guidance or a long-established exposure rule, and the last section explains the one setting that makes older charts out of date.
How to read the chart
Every exposure is a balance of three settings. It helps to know what each one is for before you copy a number:
- Aperture (the f-number) decides how much of the scene is sharp front to back. A low number like f/2.8 blurs the background. A higher number like f/8 or f/11 keeps more in focus.
- Shutter speed decides whether movement freezes or blurs. Fast speeds such as 1/1000 freeze action. Slow speeds of a second or more turn moving lights into streaks.
- ISO decides how sensitive the sensor is. Higher numbers let you shoot in less light, at the cost of more grain.
The mode letters tell the camera which of these you want to control. A (Av on Canon) means you choose the aperture and the camera picks the shutter speed. S (Tv on Canon) is the reverse. M means you choose everything.
Treat every number here as a starting point. Take the shot, look at the screen, adjust by a step and shoot again.
Chart one: starting points by scenario
| Scenario | Mode | The setting that matters | Why |
|---|---|---|---|
| Portrait, blurred background | A / Av | Large aperture, around f/2.8 | Shallow depth of field separates the person from the background |
| Landscape, sharp front to back | A / Av | Small aperture, f/8 to f/11 | More depth of field from the foreground to the horizon |
| Fast action: sport, running, kids | S / Tv | 1/500 as a starting point | Stops motion that is fairly fast |
| Very fast motion | S / Tv | 1/1000 or faster | Freezes the quickest subjects |
| Moderate motion: a passing cyclist | S / Tv | Around 1/250 | Enough to stop a subject moving at that pace |
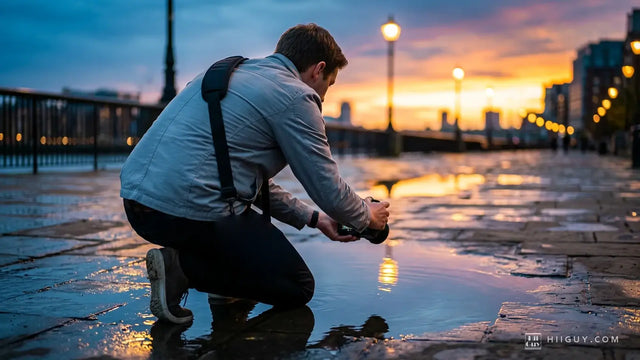
| Night traffic trails | M, on a tripod | Several seconds or longer | Moving lights record as lines; the tripod keeps everything else still |
The aperture rows follow Nikon's guidance on aperture, which gives f/8 or f/11 for depth of field and f/2.8 for shallow focus. The shutter speed rows come from Nikon's guide to freezing motion, which calls 1/500 a good starting point for fairly fast subjects, puts very fast motion above 1/1000, and shows a bicycle stopped at 1/250.
Chart two: daylight without trusting the meter
Very bright or very contrasty scenes can lead the camera's meter astray, and it helps to have a number to check it against. The old Sunny 16 rule gives you one. It says that in bright sunlight you set the aperture to f/16 and the shutter speed to the reciprocal of the ISO. At ISO 100, that means 1/100, or the nearest speed your camera offers, which is usually 1/125.
From there, open the aperture as the light drops and keep the shutter speed the same:
| Light | What you see | Aperture | Shutter speed |
|---|---|---|---|
| Bright sun on snow or sand | Glare, very dark shadows | f/22 | 1 / ISO |
| Bright sun | Distinct shadows | f/16 | 1 / ISO |
| Hazy sun | Soft shadows | f/11 | 1 / ISO |
| Cloudy bright | No shadows | f/8 | 1 / ISO |
| Heavy overcast or open shade | Flat light | f/5.6 | 1 / ISO |
| Sunset | Low, warm light | f/4 | 1 / ISO |
These are the standard Sunny 16 values. Each row is roughly one stop of light less than the one above it. You do not need to shoot at these exact settings. If you want f/5.6 for a portrait in bright sun, you know you are three stops wider than f/16, so the shutter speed needs to be three stops faster.
The setting old charts do not have: Auto ISO with a minimum shutter speed
Here is the reason so many saved charts are out of date. They give you a fixed ISO for each situation. On a current camera, most beginners get better results by not choosing an ISO at all.
Take Nikon's Z50II, a current beginner mirrorless body. According to Nikon's product page, its range runs from ISO 100 to 51200. With a range that wide, the useful question is no longer "what ISO?" but "how slow am I willing to let the shutter go?"
That is exactly what the minimum shutter speed setting answers. Nikon's Z50II manual describes it as the shutter speed below which Auto ISO kicks in to prevent underexposure in modes P and A, with options from 1/2000 to 30 seconds. If you choose Auto instead, the camera picks the minimum based on the focal length of the lens, and chooses faster speeds when a long lens is attached to prevent blur from camera shake.
In practice, that turns the chart above into something simpler:
- Switch Auto ISO on and set a sensible maximum ISO.
- Set the minimum shutter speed for what you are photographing: 1/250 for people walking, 1/500 for sport and children, or Auto for general use.
- Shoot in A mode and choose only the aperture from chart one.
The camera keeps your shutter speed fast enough and only raises the ISO when it has to. Menu names differ between brands and models, so look up Auto ISO in your own camera's manual before you rely on it.
What about the scene modes on the dial?
Many of the most saved "auto mode" charts are essentially a description of a scene-mode dial. Nikon's D3500, for example, lists Auto, Auto (flash off), Child, Close-up, Landscape, Night Portrait, Portrait and Sports on its product page. Those modes are a reasonable way to start, and their names line up with the rows of chart one: each is a preset for one kind of picture, making the trade-offs for you.
The benefit of learning the chart instead is control. A scene mode cannot know that you want the background sharp in a portrait, or that you would rather accept some grain than lose the shot. If you own that camera, our Nikon D3500 settings guide maps these ideas onto its actual menus.
A chart only helps if the camera is ready
The most common reason a good setting never gets used is that the camera was in the bag when the moment happened. Settings you have practised become automatic, but only if the camera is out often enough to practise with.

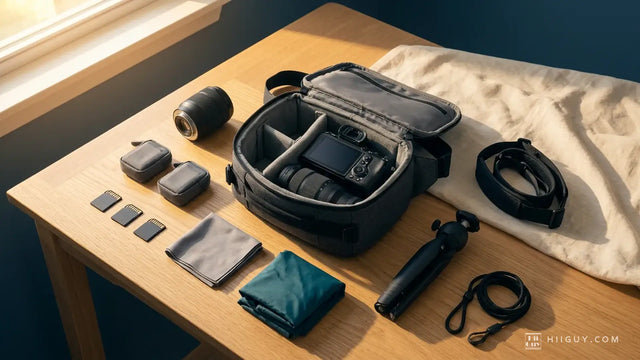
That is why so many photographers carry the camera across the body rather than packed away. The HiiGuy strap keeps the camera at your hip on heavy-duty polyester webbing with a wide padded shoulder pad, and a stainless steel quick release lets you take the body off in one movement when you switch to a tripod for those night trails. The Regular version adjusts up to 32 inches and the XXL adjusts up to 44 inches, so the camera sits at hip height whatever your build.
If you are just starting out, pair this chart with our guide on how to get better at photography. Save the chart, take the camera out this week, and shoot one scenario from each table on purpose. You will learn more from twenty deliberate frames than from any cheat sheet.