Stand where everyone stands, hold the camera where everyone holds it, and you'll get the photograph everyone gets. The fastest way out of that isn't a new lens. It's moving the camera. Camera angles are free, they work on a phone as well as a full-frame body, and most of us use about two of them.
Below are twenty, each with one real example you can go and try this week. They're grouped by what you actually change: how high the camera is, which way it points, and where you stand around the subject.
Height and tilt are two different things
This is the part most lists skip, and it's worth thirty seconds. Tamron's guide to camera angles splits it cleanly. Position is how high the camera sits: above your eye, at your eye, or down near the ground. Angle is which way the lens points: down, level, or up.
You can mix them. A camera held low and pointed level is a completely different picture from a camera held low and pointed up. Keep that in mind and the list below stops being twenty separate tricks and becomes a handful of dials you can combine.
Camera angles by height
1. Eye level
The lens sits at the height of the subject's eyes and points straight at them. Tamron calls it the most natural and relatable perspective, and that's exactly its strength and its weakness: it feels honest, and it rarely surprises anyone.
Example: a portrait of a friend across a café table, camera at their eye height rather than yours.
2. High angle
The camera is above the subject and looks down. It makes the subject look smaller and shows how it sits in its surroundings, which is why it works so well for a scene with a lot going on.
Example: a toddler looking up at you from the kitchen floor, shot from standing height.
3. Low angle
The camera sits below the subject and points up. Things get taller, heavier and more imposing. Tamron recommends it for tall buildings and for portraits meant to show strength, and for cars, where a low or level angle carries a sense of power and speed.
Example: a runner crossing a finish line, shot from a crouch a few yards ahead.
4. Bird's-eye view
Straight down, lens pointing at the ground or the table. The picture turns into shapes and pattern, because depth mostly disappears.
Example: a flat lay of everything in your camera bag, laid out on a wooden floor and shot from a chair.
5. Worm's-eye view
The opposite extreme: camera on or near the ground, pointing straight up. Every vertical line races to a point in the sky.
Example: lying under a tall pine and shooting up the trunk into the branches.
6. Ground level, looking level
Camera a couple of inches off the ground, but pointed straight ahead rather than up. The foreground becomes huge and the horizon drops to the bottom of the frame. Nikon's advice for its ultra-wide zoom is simply to get low to the ground and include lots of foreground, and it holds for any wide lens.
Example: a wet street after rain, the puddle filling the bottom third and the lights beyond it.
7. Hip level
Camera at your waist, pointed at people as they pass. It's lower than eye level, so faces sit slightly above the lens, and nobody is looking at a photographer holding a camera to their face.
Example: a busy market aisle, shot at waist height as you walk through it.
8. Arms raised above a crowd
A high position with a level lens. Tamron points out that shooting from above helps in crowds, and anyone who has stood behind three rows of phones at a parade knows why.
Example: a street performer ringed by an audience, shot with the camera lifted over the heads in front of you, using the rear screen to frame.
9. An elevated vantage point
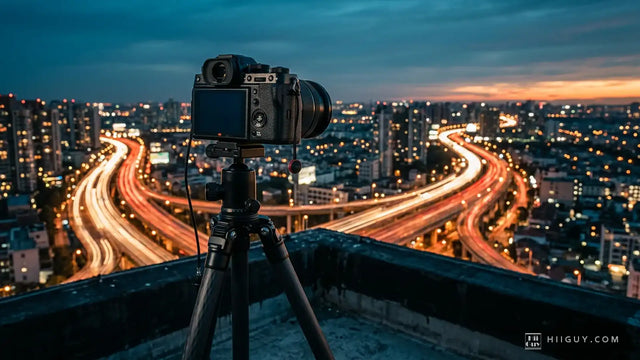
Not holding the camera high, but taking yourself high: a bridge, a stairwell, a hotel window, a hill. It shows how things are arranged, which is often the story.
Example: a row of beach umbrellas shot from the boardwalk steps above them.
Camera angles by tilt
10. The 45-degree angle
Halfway between level and straight down. Tamron singles it out for food because it shows the volume of a dish, which a straight overhead shot flattens.
Example: a stacked burger on a plate, shot from where you'd see it sitting down to eat.
11. The Dutch angle
The camera is rotated so the horizon runs downhill. According to Wikipedia's entry on the technique, it was used heavily in German Expressionist film, and later by Hitchcock and in The Third Man; the 1960s Batman series tilted the camera for its villains to suggest they were crooked. The point is unease. Tilt it enough that it's clearly deliberate, and use it rarely.
Example: a stairwell at night, tilted so the handrail cuts diagonally across the frame.
12. Tilting up at a building, on purpose
Point a camera up at something tall and the vertical lines lean toward each other. Nikon's article on perspective control lenses calls this keystoning, and its fix is to keep the camera parallel to the building. That's the tidy option. The other option is to commit: get close, tilt hard, and let the lines converge as the picture.
Example: a glass tower shot from its base, corners meeting near the top of the frame.
Camera angles by direction
13. Straight-on
Square to the subject, centered, symmetrical. It's formal and very direct.
Example: a front door with a wreath, shot dead center from the path.
14. Three-quarter view
Take a step or two around the subject so you see the front and one side. Faces get shape, and objects get depth.
Example: a pickup truck at a trailhead, shot from its front corner so the grille and one side both show.
15. Profile
Fully side-on. It reads as calm and a little distant, and it depends on a clean background because the outline is doing the work.
Example: someone reading by a window, their silhouette against the light.
16. From behind
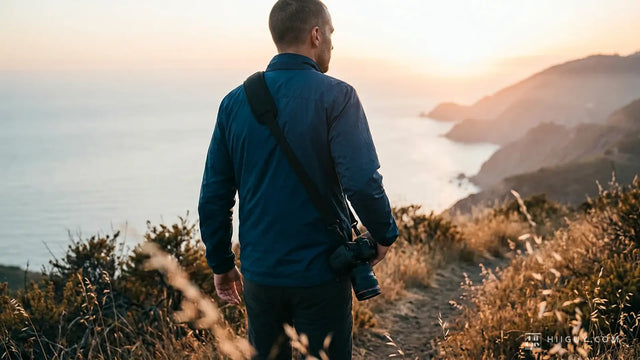
The subject faces away, so the viewer looks at what they're looking at. It turns a portrait into a scene.
Example: a hiker at a lookout, back to you, valley ahead of them.
17. Over the shoulder
Borrowed from film. Part of one person's shoulder and head sits soft in the foreground, and the sharp subject is what they're facing.
Example: a grandparent's shoulder in the edge of the frame, a grandchild blowing out candles beyond it.
18. Point of view
The camera sees what your eyes see, often with your own hands or feet in the frame.
Example: your boots on a rock ledge with the drop below them.
Angles that use what's in front of the lens
19. Through a frame
Shoot through something: a doorway, branches, a car window. It adds a layer between the viewer and the subject and pushes the eye to where you want it.
Example: a fishing boat seen through a gap in the harbor wall.
20. Close and wide
Put a wide lens very near one part of the subject. Nikon's tip is to get so close that the subject becomes exaggerated and looks larger than life. Whatever is nearest the lens dominates.
Example: a dog's nose filling half the frame, the rest of the dog shrinking away behind it.
What all this moving around asks of you

Read the list back and notice how much of it is kneeling, lying on the ground, climbing steps and holding a camera over your head. That's the real cost of better angles. A camera swinging from your neck gets in the way every time you drop to the ground, and one resting in your hand means you have no hand to steady yourself with.
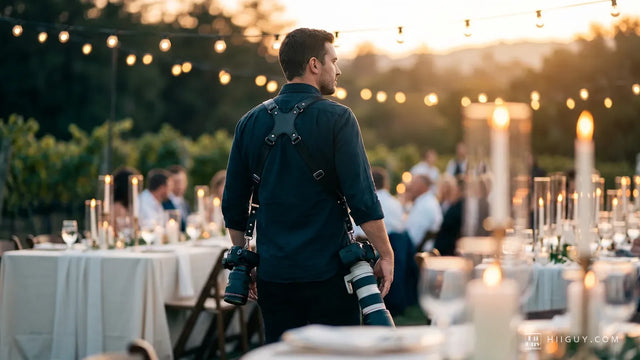
This is where a strap earns its place. The HiiGuy camera strap is worn across the body, so the camera sits at your hip when you're climbing or crouching and slides up to your eye when you're ready. It has a wide padded shoulder pad, a stainless steel quick release for when you want the camera off the strap and down at ground level, and a safety tether behind the release. There are two variations and length is the only difference: the Regular adjusts up to 32 in on the body and the XXL up to 44 in. If you're working out which suits your build, it's on Amazon, and HiiGuy backs it with a 3 year warranty.
A ten-minute exercise
Pick one ordinary subject: a bicycle, a mug, a tree in the yard. Photograph it from five of the angles above without changing anything else. Same lens, same light, same settings (if you're not sure where to start with those, our camera settings by scenario chart covers it).
Then put the five side by side. One of them will be clearly better than the others, and it almost never turns out to be the one you shot first from standing height. Do it once a week and you'll start moving before you raise the camera, which is most of what getting better at photography actually is.